


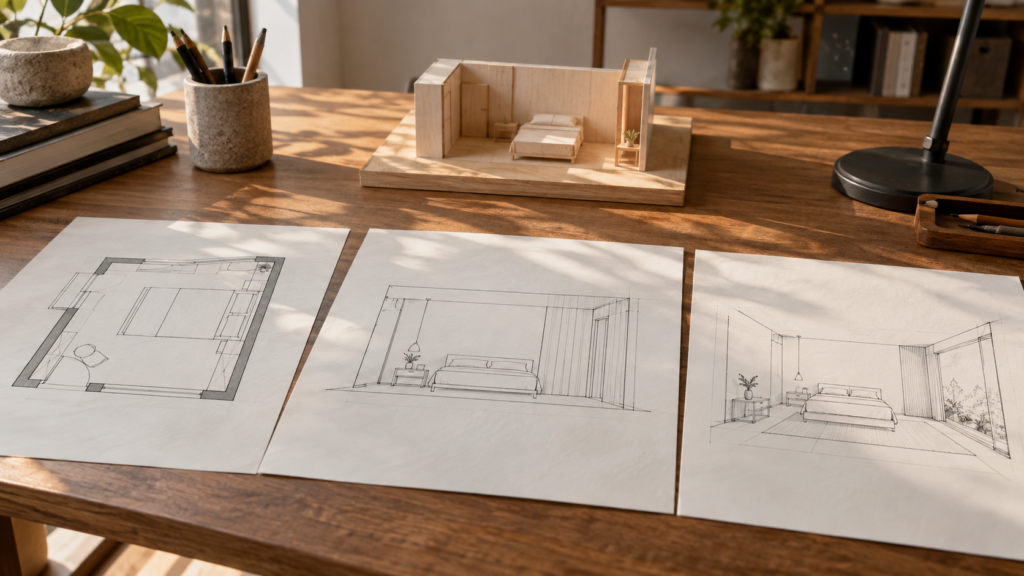
Key Takeaways
- Read plans, elevations, sections and renders together because each answers a different question.
- Check the drawing revision, units and purpose before reviewing details.
- Use written dimensions and product information rather than estimating from a screen.
- Record unresolved questions before approving drawings for ordering or construction.
To read interior design drawings, first identify the drawing type, its revision and the room or level it represents. Then compare the written dimensions, furniture positions and material references across related sheets. For a landed home, review connections between floors as carefully as individual rooms, especially where stairs, services and ceiling details overlap.
You do not need to become a drafter to give useful feedback. Your task is to understand what you are approving, describe how the household will use the space and ask the team to resolve unclear information before work proceeds.
Why Drawings Need Context and Verification
BCA's guidance for private property owners distinguishes the actual building from its approved plans when discussing unauthorised works. This is a useful reminder that a drawing's status matters. An existing sales plan, a measured survey and an approved building plan do not serve identical purposes.
For the interior project, ask which information has been verified on site and which remains an assumption. A visual presentation may communicate the design intention without resolving every construction detail. Record those limits so that an attractive image is not mistaken for a complete instruction to build.
Read Interior Design Drawings in a Consistent Order
Start With the Drawing Register and Title Block
Check the project address, drawing title, date and revision. Find out whether the sheet is for discussion, approval, pricing or construction. The terminology varies between practices, so ask the designer to explain the status labels used for your project.
Keep one current set for review. If a later revision changes a doorway, check whether the related elevation, electrical layout and quotation also need updating. A clear register helps everyone identify the version they should use and reduces confusion caused by older files remaining in message threads.
Confirm the Legend and Units
Symbols for switches, lights, finishes and demolition should be explained in the legend or notes. Do not assume that a dashed line has the same meaning on every sheet. It could indicate an overhead feature, concealed item or another condition defined by that drawing set.
Confirm whether dimensions are in millimetres and whether a dimension describes a finished opening or another reference. Avoid measuring a resized PDF or photograph to obtain construction dimensions. Where a measurement is missing or contradictory, ask the designer to clarify it in the drawing.
Use the Floor Plan to Test Daily Movement
A floor plan shows the arrangement as viewed from above, conventionally using a horizontal cut through the space. It helps you understand walls, openings, circulation and the relationship between furniture and fittings. Start at the entrance and follow a normal route through the room.
Trace door swings and imagine drawers opening. Check whether chairs can move away from the dining table without obstructing a main route. Use the actual dimensions of furniture you plan to retain. A generic sofa symbol can conceal a significant difference from the piece already in your home.
On each floor, ask where bags, laundry and cleaning equipment will go. Then follow those activities between levels. A storage solution can look adequate in one room while leaving an inconvenient daily journey elsewhere in the house.
Read Elevations for Heights and Alignment
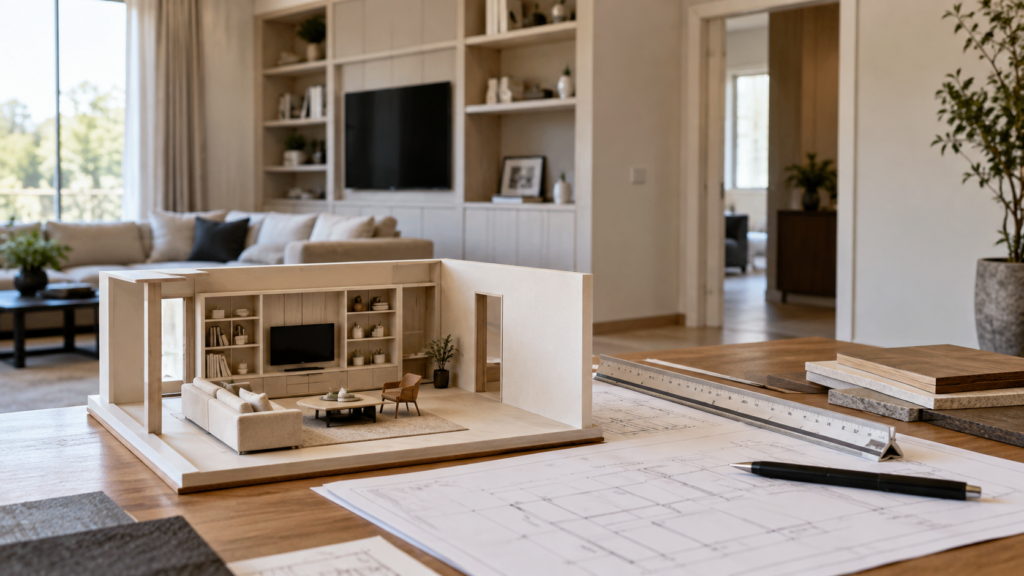
An elevation presents a vertical face, such as a kitchen wall or a wardrobe front. It helps you review cabinet heights, door divisions, appliance positions and alignment with adjacent features. Find the elevation reference on the plan so that you know which wall you are viewing.
Compare the elevation with the furniture or equipment beneath it. Ask how a wall-mounted television relates to the intended seating and how frequently used shelves will be reached. If a handle, switch or opening seems awkward, raise the intended use rather than trying to redesign the technical detail yourself.
Confirm material references against the finish schedule. Similar shading on a drawing does not necessarily mean identical materials. A labelled reference should lead to an agreed product or specification, with unresolved selections clearly identified.
Use Sections to Understand Depth and Levels
A section represents a vertical cut through the building or an element. It can clarify ceiling depths, built-in construction, stair relationships and changes in floor level. Look for the section marker and direction on the relevant plan before interpreting the view.
For a landed home, sections are especially useful where the design involves double-volume spaces or several interacting levels. Ask the team to explain headroom, service zones and access requirements. Homeowners should identify concerns, while the appointed professionals assess technical compliance and construction requirements.
Sections can also reveal a mismatch that a frontal view hides. A cabinet may look slim in elevation but project too far into a route. Read the plan, elevation and section as different views of the same object, rather than approving each independently.
Understand What a 3D Render Leaves Out
A render communicates appearance, light, material relationships and atmosphere. Camera position and lens settings can influence how spacious the room looks. The image may also include illustrative accessories or products that are not part of the priced scope.
Ask which elements are confirmed, which are provisional and which are styling only. Compare major features against the dimensioned drawings and specification. A seamless-looking junction in an image still needs a practical construction detail, while the final appearance of a finish may differ under your home's actual lighting.
Review physical samples where practical. Screen brightness and colour settings make a render a poor final reference for an exact paint or laminate selection. Record the approved sample or product code instead of relying on a screenshot.
Check Coordination Before Giving Approval
Walk through one activity at a time: preparing a meal, dressing, working or cleaning. Compare the relevant furniture, power points, lighting controls and storage. Check whether equipment access remains possible after all built-ins are installed.
Keep a question log with the sheet number, location and decision needed. For example, record that a wardrobe drawer appears to conflict with a nearby door and request a coordinated revision. A precise question is easier to resolve than a general comment that the room feels wrong.
The landed interior design process explains when these reviews fit into the project. Ask what an approval authorises: continued design development, product ordering or construction. Those commitments should not be assumed to mean the same thing.
Keep the Approved Set for Site Review
After approval, retain the final drawing set and the record of later changes. During a renovation defects check and handover, these documents help establish the agreed arrangement and distinguish omitted work from a new preference. They also support maintenance discussions after occupation.
Before your next design meeting, choose one frequently used room and compare its plan, elevation and render. Write down every point where you cannot connect the views or identify the specification. Ask the designer to resolve that short list before you approve the affected work.
Frequently Asked Questions
What Is the Difference Between a Plan and an Elevation?
A plan shows the arrangement from above, helping you review layout and circulation. An elevation shows a vertical face, making heights, divisions and alignment easier to understand. Read both together because a cabinet's depth, width and height may be communicated across different drawings in the same set.
Can I Measure Dimensions From a PDF on My Phone?
Do not rely on measurements taken from a resized screen image for construction decisions. Use the written dimensions and ask the designer to clarify anything missing or inconsistent. Printing and digital scaling can alter apparent size, so the drawing's stated scale alone does not validate your screen measurement.
Does Approving a Render Approve Every Item Shown?
That depends on the agreed approval process and scope. Ask which elements are included, provisional or illustrative before confirming acceptance. Cross-check the render against drawings, specifications and the quotation, particularly for furniture, lighting, appliances and accessories that may have been added only to communicate the intended appearance.
What Should I Do if Two Drawings Disagree?
Identify the conflicting sheets and revisions, then ask the designer for a coordinated correction before affected work proceeds. Avoid choosing one interpretation yourself or giving separate instructions to different trades. Keep the clarification with the updated drawing set so everyone works from the same agreed information on site.

October 21, 2026
Yang's Inspiration Insight