


Key Takeaways
- Choose the room and seating arrangement before buying the screen or speakers.
- Treat sound inside the theatre and sound reaching other rooms as separate requirements.
- Coordinate cooling, equipment ventilation, cables and service access with the interior.
- Compare basement, attic and other rooms by actual conditions rather than atmosphere alone.
Home theatre design for landed homes should begin with the available room, the number of regular viewers and the household’s tolerance for sound elsewhere. Set the seating and screen relationship first, then coordinate speakers, acoustic treatment and services. The most expensive equipment cannot compensate for obstructed views, poor room planning or an installation that is difficult to maintain.
Decide whether this is a dedicated cinema or a flexible entertainment room. A space used for films, gaming and family conversation may need a different layout from one kept dark for scheduled screenings. Write down the normal use before adopting a photograph with multiple rows of oversized seats.
What Dolby’s Planning Guidance Emphasises
Dolby’s home-theatre setup guidance directs owners to speaker layouts and placement advice suited to the intended system. The relevant lesson is to coordinate equipment locations with the listening positions. A collection of compatible products does not automatically produce a well-arranged installation.
Use the selected manufacturer’s guidance with an AV specialist to develop the actual room plan. Ask what must be fixed before ceilings and walls are closed. Keep the proposed seating, speakers and screen on the same drawing so that later decorative choices do not displace essential positions.
Start Home Theatre Design for Landed Homes With the Room
Review room dimensions, ceiling height, openings and the construction around it. Mark bedrooms, studies and neighbouring boundaries. Include the route used to enter and leave during a film, because a door opening directly beside the screen may interrupt the viewing experience.
The room-by-room guide for landed interiors helps assess the theatre’s place within the whole home. A rarely used cinema should not automatically take priority over a needed bedroom or flexible family room. Compare how often each possible arrangement would serve the household.
Basement Placement
A basement may offer fewer daylight-control challenges, but its suitability depends on the existing conditions and proposed use. Review moisture, ventilation, cooling and safe access with the relevant professionals. Do not treat the below-ground location as automatic proof of acoustic separation or a ready-made cinema environment.
Use the landed-house basement guide to coordinate those broader questions before interior finishes are selected. If remedial work is required, establish how readiness for fit-out will be confirmed. Expensive AV equipment and fabric finishes should not conceal an unresolved background problem.
Attic and Upper-Floor Placement
An attic can be appealing as a retreat, but sloping ceilings and roof exposure may constrain the design. Check usable height where people sit and walk, not only at the centre of the room. Include equipment delivery, maintenance access and cooling in the comparison.
On any upper floor, review the relationship to bedrooms and the structure below. Ask the acoustic specialist how the proposed use affects adjoining rooms. A location that feels separate during a daytime viewing may perform differently during a late-night film with other occupants asleep.
Plan Seating, Screen Size and Sightlines Together
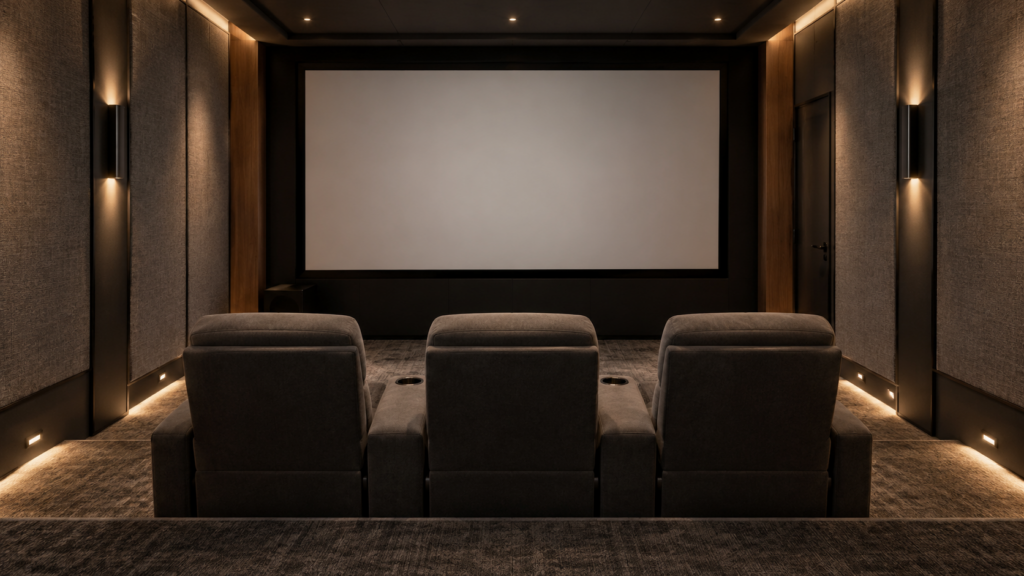
Choose the regular seating count before maximising the number of chairs. Show recliners in their extended position, allow circulation and verify the view from each seat. A smaller arrangement with useful clearances may serve the family better than a second row that compromises access and viewing.
Ask the AV specialist to assess screen size, viewing distance and mounting height for the selected technology and preferences. If a projector is proposed, confirm the compatible throw arrangement and location. Do not order a screen solely from the dimensions of an empty feature wall.
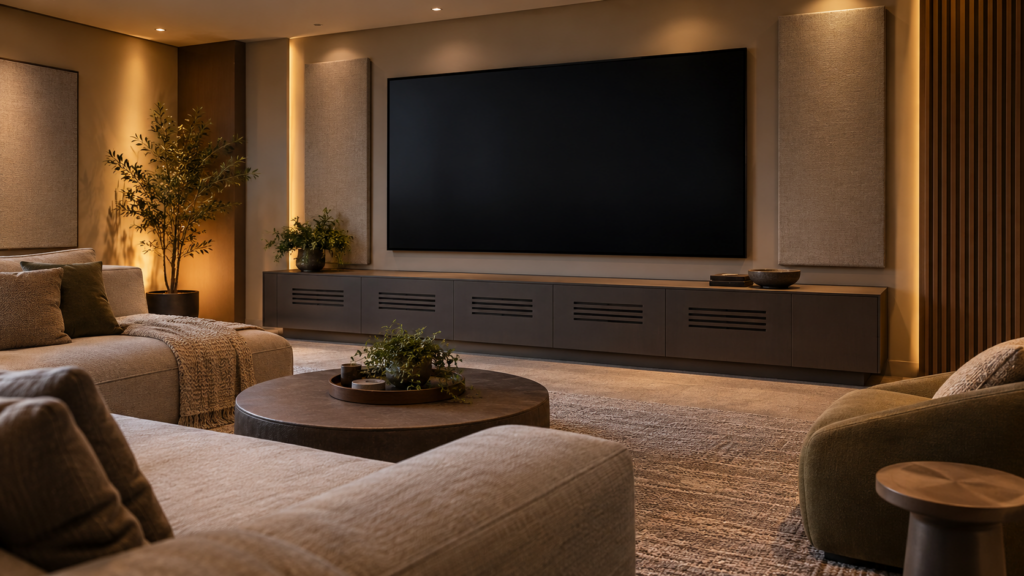
Where a raised platform is considered, coordinate its structure, edges and access with the project professionals. Review the space above seated heads and the route around furniture. The finished arrangement must work safely when lighting is subdued, not just look convincing in a presentation image.
Separate Acoustic Treatment From Sound Isolation
The room may need treatment to manage reflections, but preventing disturbance outside it is another question. Fabric wall panels and a rug should not be assumed to isolate the theatre. Ask which measures address the listening experience and which address transmission to other spaces.
The soundproofing guide for landed houses explains how doors, junctions and service paths can influence isolation. For demanding use, involve an acoustic specialist early. Define the listening expectations and nearby rooms rather than accepting an undefined promise that the finished theatre will be soundproof.
Keep the treatment design compatible with the AV layout. Decorative panels, curtains or cabinetry should not casually obscure speakers or alter a planned position. Have the relevant parties review substitutions together when a finish or product changes during procurement.
Control Light Without Making the Room Inflexible
Decide how daylight will be controlled and what lighting remains useful during viewing. Consider reflections on the screen and the appearance of nearby surfaces. A flexible family room may benefit from different lighting settings for films, cleaning and ordinary conversation.
Make entry and exit controls easy to understand. Review low-level route lighting from the seats and doorway, avoiding distracting brightness in the viewing direction. Confirm the chosen lamps, drivers and controls are compatible before installation, particularly where very low settings are intended.
If the room will also support gaming or exercise, show the furniture and lighting arrangement for those uses. Plan storage for controllers and accessories. A dedicated visual theme should not make everyday equipment difficult to find or leave cables across circulation routes.
Give Equipment Space to Operate and Be Serviced
Prepare an equipment schedule with actual dimensions and manufacturer ventilation requirements. An attractive closed cabinet needs a suitable technical design for the products inside it. Ask the AV specialist and joinery team to coordinate airflow, cable entry and access to connections.
Review cooling for the occupied room and its equipment, with suitable professional input. Keep ventilation needs distinct from temperature control. Any acoustic detailing around service routes should be coordinated so that one requirement is not met by quietly compromising another.
Include replacement access. A component that can only be removed by dismantling a stone panel is a maintenance decision as well as an aesthetic one. Ask which parts are expected to remain serviceable and show the access method on the drawings.
Plan Cables and Controls Before Closing Surfaces
Agree the connections needed for the selected system and discuss sensible spare provision with the AV installer. Label routes and retain a record of what is installed. Hidden cables are useful only when their destinations and access points remain understandable later.
The smart-home planning guide can help coordinate lighting, blinds and entertainment controls. Keep the essential sequence simple: entering the room, starting the system, adjusting volume and leaving. Ask how the household will operate the room if a preferred app or remote becomes unavailable.
Compare the Complete Project and Test It at Handover
Separate AV equipment, room construction, acoustic work, services and furniture in the budget. Clarify who is responsible for coordination and final setup. A low equipment quotation does not establish the completed-room cost if installation and interior work are excluded.
At handover, check the agreed viewing positions, controls and operating modes with the installer. Retain settings, manuals, warranties and the cable record. Bring the brief to Yang’s landed interior design service early so the room and its specialists can be coordinated before fixed finishes limit the options.
Frequently Asked Questions
Is a Basement the Best Place for a Home Theatre?
It can be suitable, but the decision depends on moisture conditions, services, access and the surrounding construction. Review those matters before planning finishes and equipment. A basement is not automatically soundproof, and any unresolved building issue should be addressed before the cinema fit-out begins inside it.
Should I Buy the Screen Before Designing the Room?
Usually, establish the room layout and seating first. Screen size, viewing distance, mounting height and projector placement need to work together. Ask the AV specialist to confirm the proposed combination before purchase, including sightlines from every regular seat and any constraints created by doors or ceilings.
Do Fabric Panels Make a Home Cinema Soundproof?
Not by themselves. Many panels address reflections within the room, while isolation depends on the complete separating construction and other transmission paths. Ask an acoustic specialist to distinguish the two objectives. Doors, floors and service routes may need attention alongside the visible wall treatment in the cinema.
Can AV Equipment Be Hidden in a Closed Cabinet?
It can be integrated into joinery if the design meets the equipment’s ventilation and access requirements. Confirm dimensions, airflow and cable connections with the installer before fabrication. Leave a practical way to service or replace components without damaging unrelated finishes or dismantling large sections of cabinetry.

October 8, 2026
Yang's Inspiration Insight